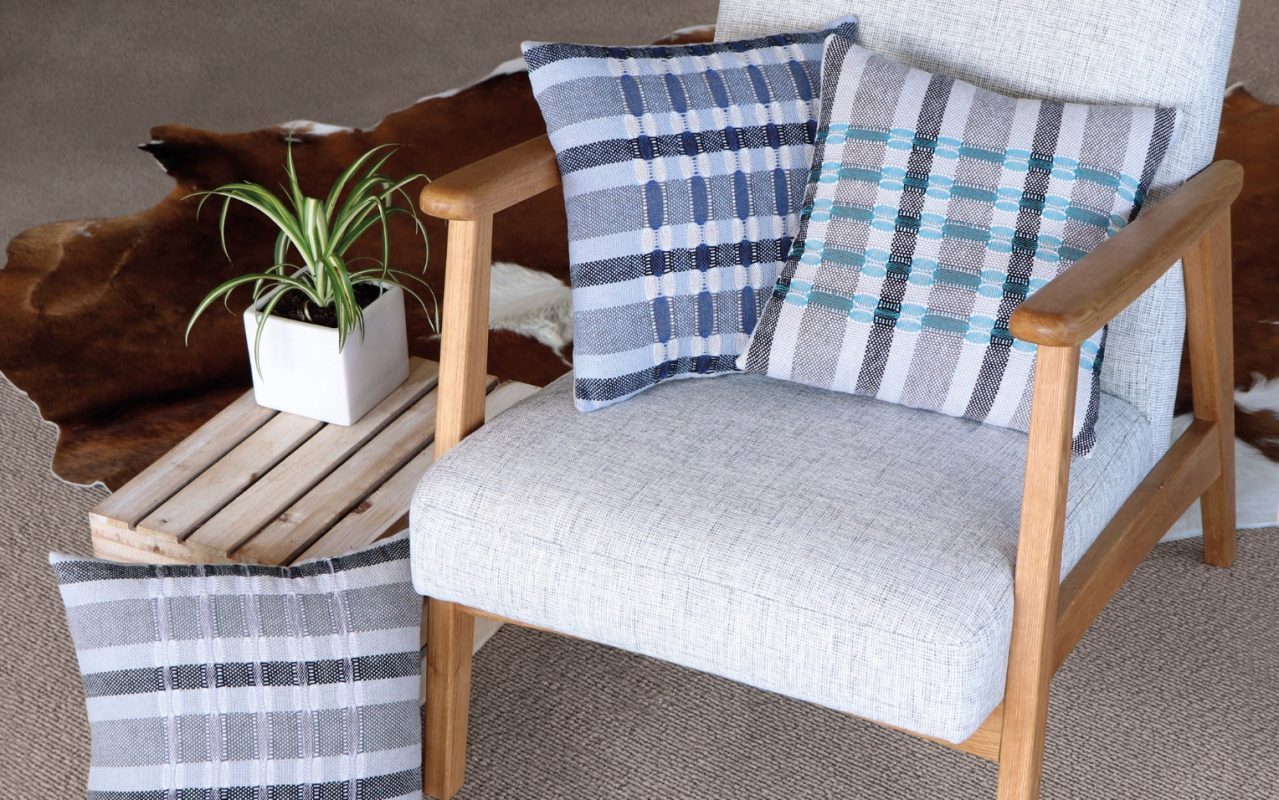
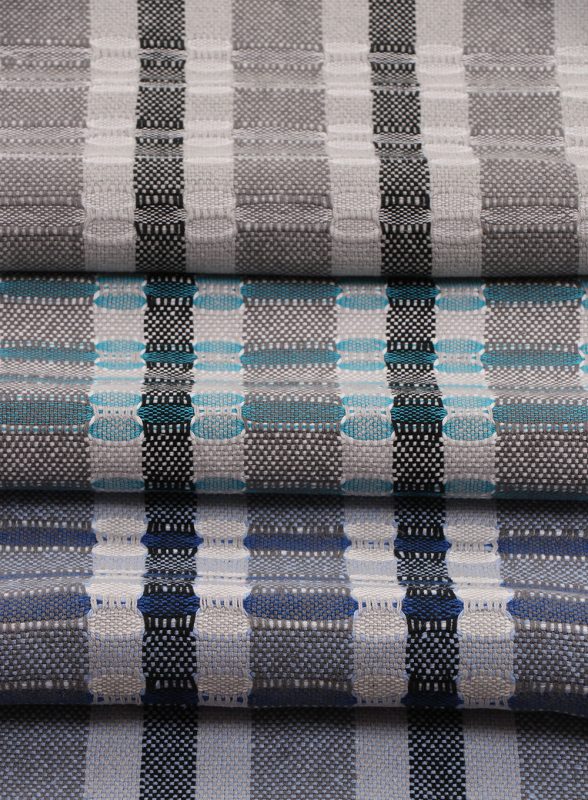
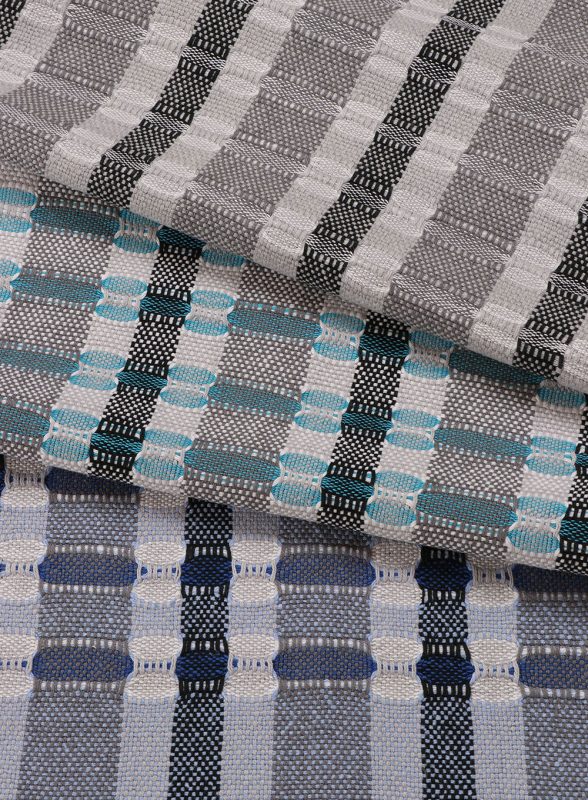
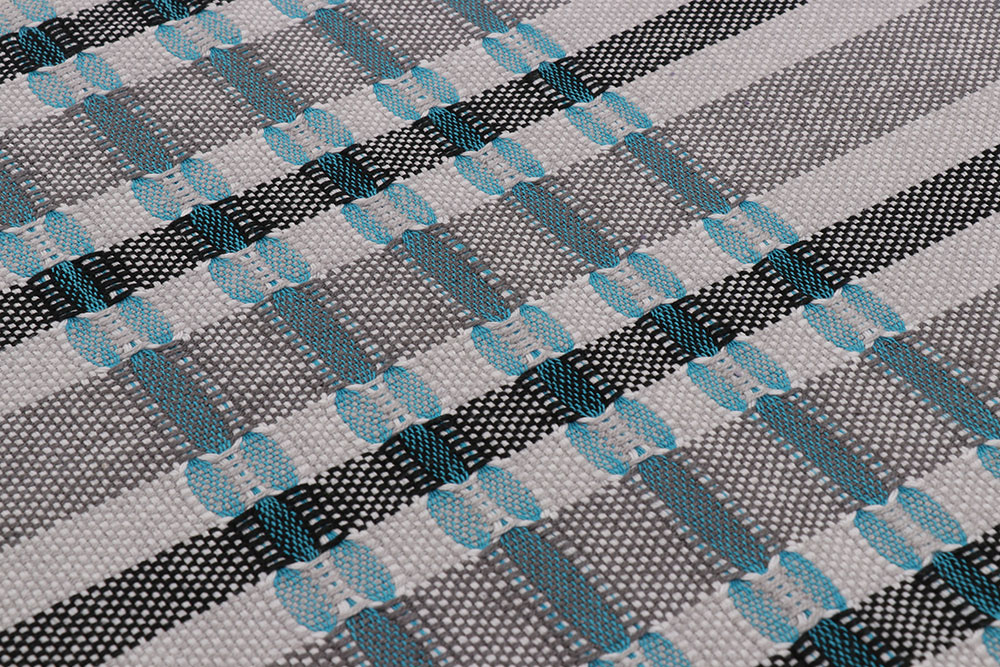
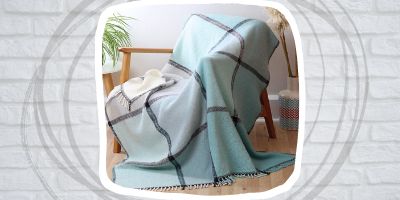
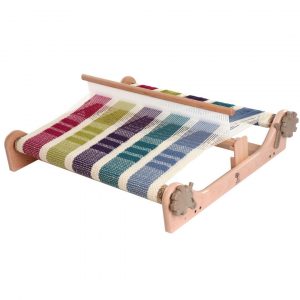
Elsa Krogh is one of the main reasons Kate from Ashford has such a passion for rigid heddle weaving. Not only did Elsa teach Kate invaluable tips and tricks on how to warp and weave with ease, but she also made it very clear rigid heddle looms were not just one trick ponies and there was so much more to them than plain weave. This is one of Elsa’s projects -smart Honeycomb cushions. If you haven’t already tried this weaving technique Kate suggests you do – you will be surprised by the results!
A great technique to do as a feature in bands, with pattern yarn colour changes to make a co-ordinating set.
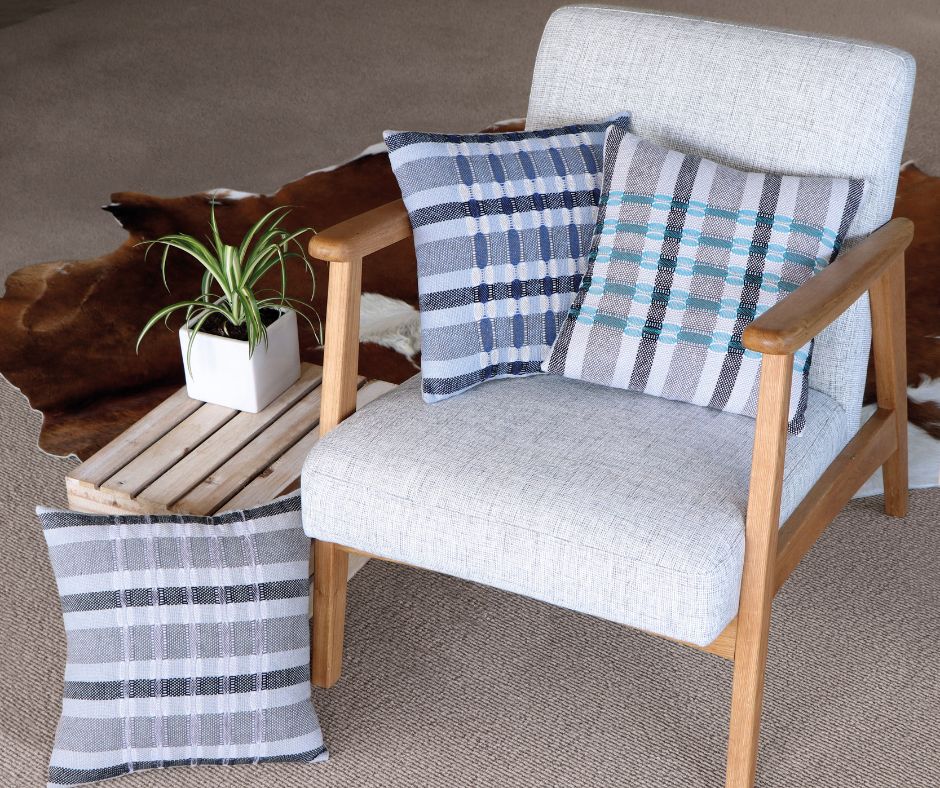
By Elsa Krogh, Mariager, Denmark
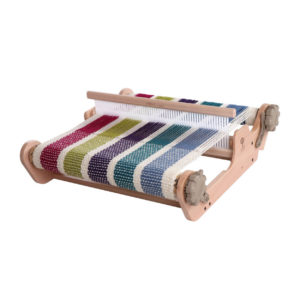
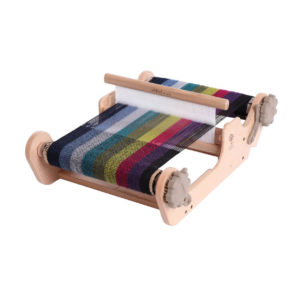
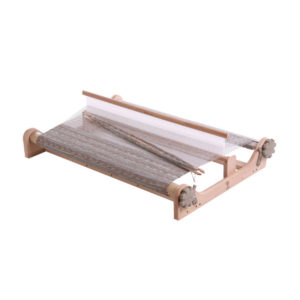
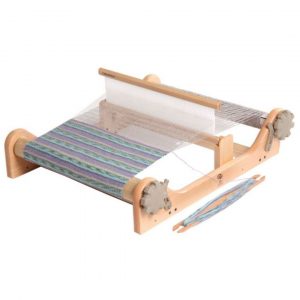
A rigid heddle loom may look simple, but it is a real loom with lots of room for experiments.
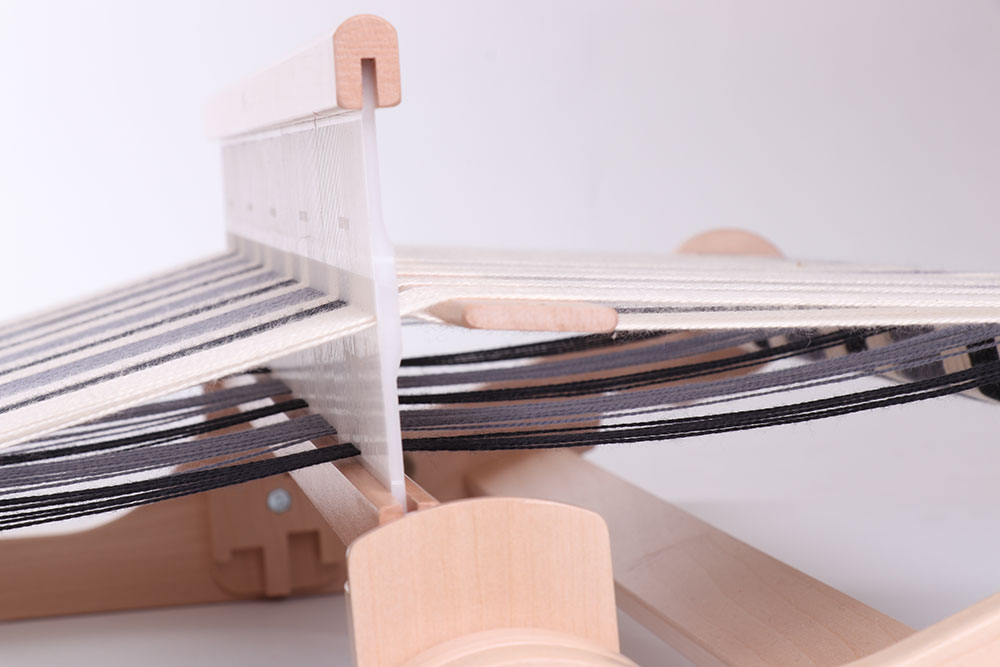
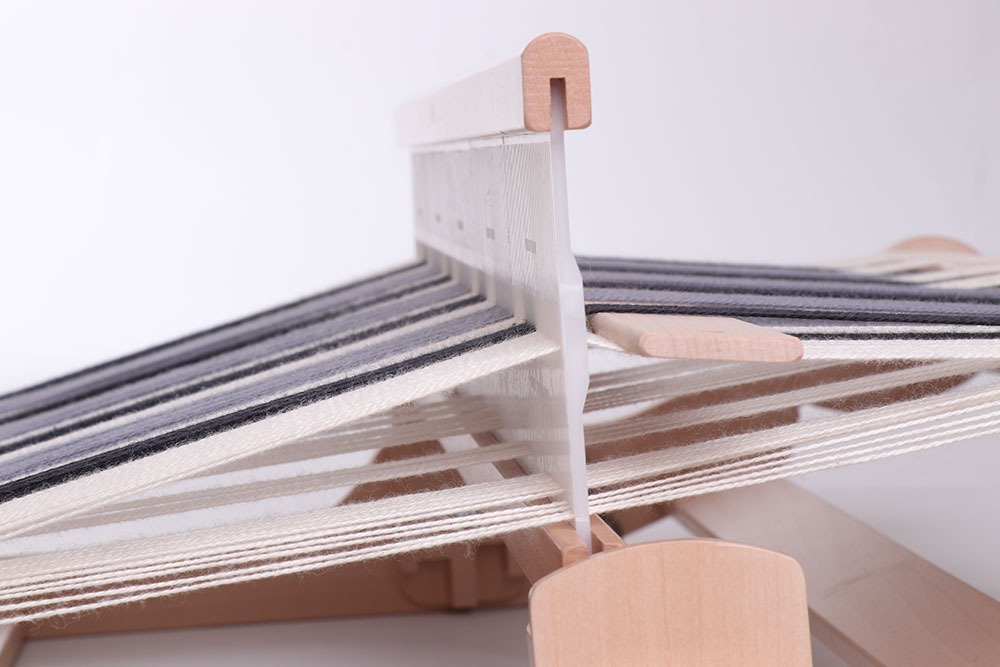
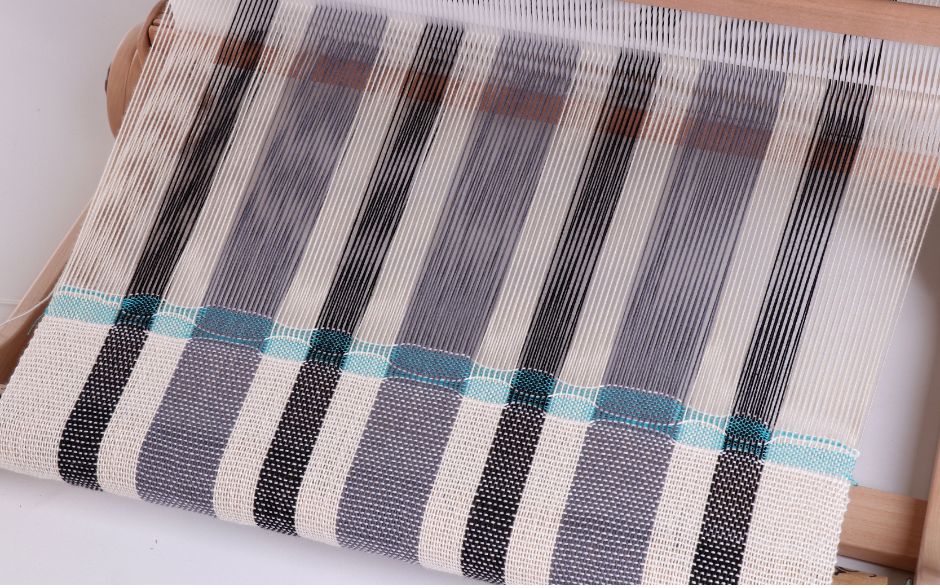
One of Elsa’s favourite rigid heddle techniques is using pickup sticks to create patterns and textures. These techniques are based on the fact that on a rigid heddle loom the warp ends in the slots are free, i.e. not going through a hole, so they can be manipulated behind the reed to make a new shed in front of the reed, and the pickup stick can be left in the warp behind the reed for the next pattern pick.
Using a pickup stick is like adding shafts to your loom. The stick can create floats, breaking the over/under pattern of plain weave to make lace, spot weaves, honeycomb, and other interesting patterns.
The wonderful fact is that on a rigid heddle loom you can switch from one pattern sequence to another, with the same or a different number of “shafts”, on one warp – if you so wish.
Hint: To make it easier to see the slot ends when making the pickups, put a strip of cardboard or a folded piece of paper in the shed between the slot ends and the hole ends behind the reed, a light colour if the warp is dark, and a dark colour if the warp is light.
Hint: If you need to overlap the ends of old weft and new weft in the web, always do it in a plain weave pick, never in a pattern pick.
Weaving tips to get started
Notes on Pickup Sticks
The pickup sticks should be smooth, minimum 2.5cm (1in) wide and just thick enough to be able to stand on edge. Ashford Pickup Sticks are exactly the right width to create the shed on all Ashford rigid heddle looms.
To prevent the pickup sticks from sliding out when you want to move the loom, put a stick on top of the one in the warp, and wrap a rubber band around at each side. With two or more pickup sticks, wrap a rubber band around the ends of both or all of them. Alternatively tie a safety thread from one hole in the pickup stick to the other.
Honeycomb Hints
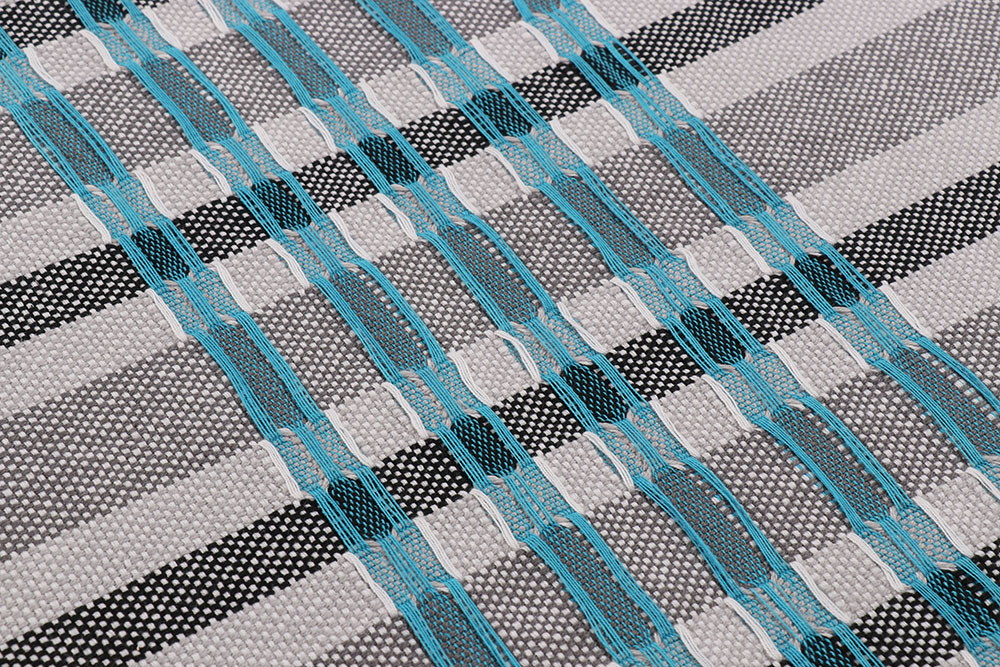
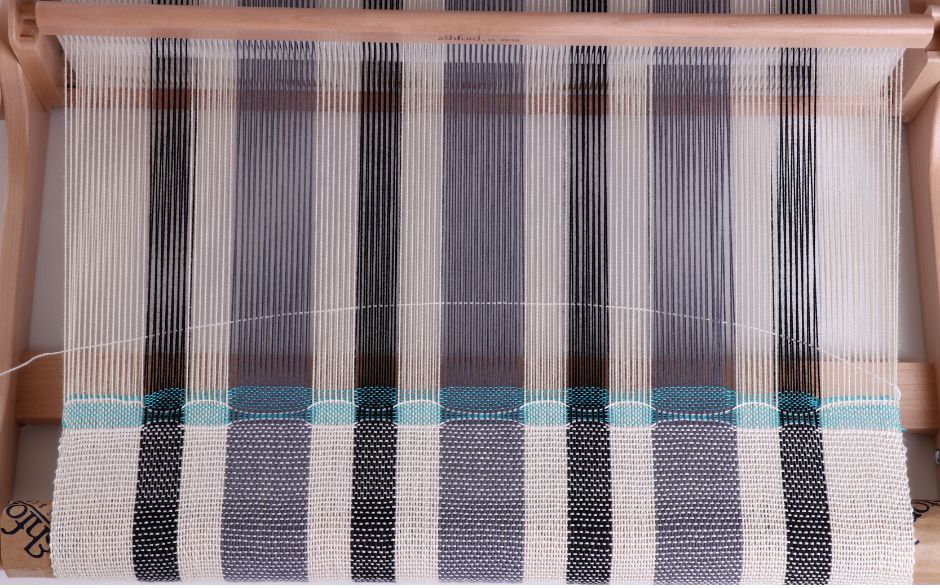
This technique creates oval cells with a fine yarn, outlined by a heavy yarn. Next, to make the picks curve around the honeycomb cells, press down with the edge of the stick shuttle, while it is in the shed. This also helps pack the weft in the cells.
Honeycomb weaves have messy selvages and bundles of long weft floats on the backs, so they are best used in cushions, bags, and other items where these characteristics are hidden. If used for bags, purses etc, they should be lined.
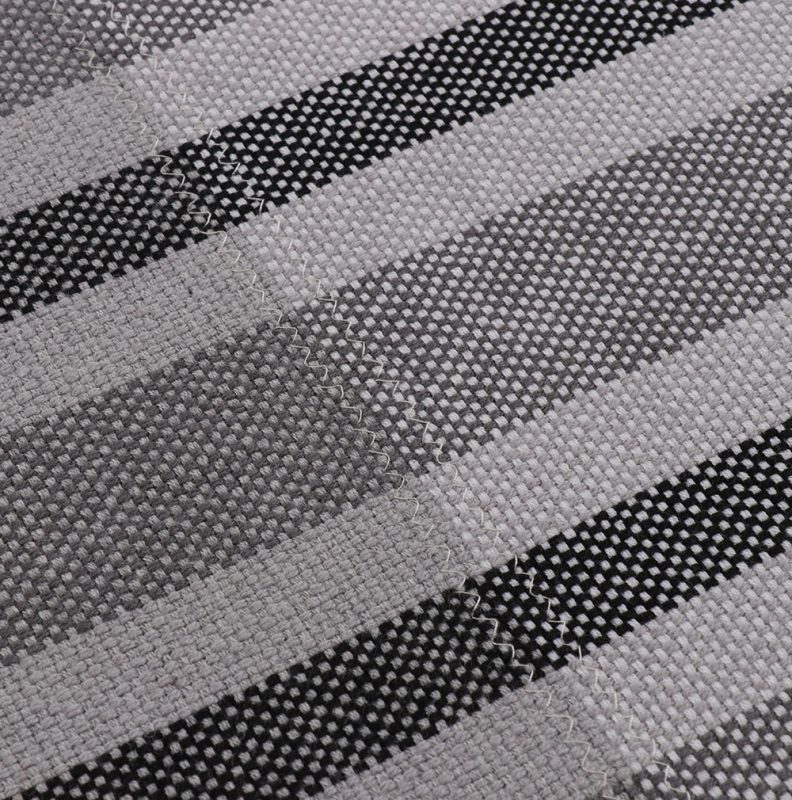
As the selvages are not going to be seen, leave any weft tails at the selvages instead of overlapping the ends in the weaving. After washing the finished weaving, I machine zigzagged along the selvages, and cut the hanging tails quite close, before the cushions were sewn up. Washing makes the pattern more distinct and the cells deeper, so do not skip the finishing.
Start Weaving your Cushions
Cushions with Honeycomb Bands
This attractive variation of honeycomb is made on the rigid heddle loom with two pickup sticks. On a shaft loom it would need three shafts.
Technique: honeycomb and plain weave.
Finished size: 39 x 39cm (16 x 16ins), woven length for one cushion front: 41 x 47cm (16½ x 18½ins).
You will need:
Loom: 50cm (20ins) or wider rigid heddle
Reed: 50/10 (12.5 dpi) reed
Flat stick shuttles: min. 50cm (20ins) long x 2
Pickup sticks: min. 50cm (20ins) long x 2
Warp yarn: cottolin 22/2, 21gm (¾oz) light grey, 14gm (½oz) dark grey, and 9gm (⅓oz) black per cushion front. Double these amounts if you want to add a plain weave back to the cushion. Add loom waste.
Alternative warp suggestions: instead of cottolin 22/2 you can use cotton 8/2 (same running length) or cotton 16/2 double.
Here’s how:
No. of warp ends: 233 double ends = 1 loop in each slot and each hole.
Width in reed: 47cm (18½ins)
Warp length: 57cm (22½ins) per cushion front (double if with plain weave back).
Warping order (lt= light grey, bl = black, dk = dark grey), beginning with a loop in a slot:
14 lt + 13 bl + 13 lt + (25 dk + 13 lt + 13 bl + 13 lt) x 3 + 1 lt.
Pickup pattern
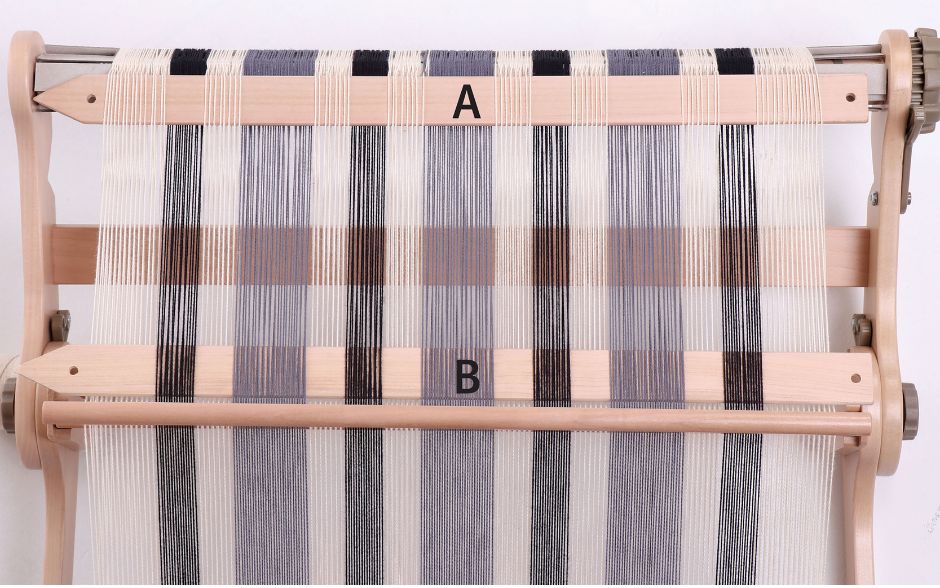
With the reed down and behind the reed, with pickup stick “A”, go under the light grey slot ends, over the black ends, under the light grey ends, over the dark grey ends etc. all across.
Push “A” to the back of the loom when not in use.
Pickup stick “B” follows the opposite route: goes over the light grey slot ends, under the black ends etc.
Note: these two pickup sticks do not slide past each other. “A” is staying in the warp behind the reed all the time, but “B” has to be put in when needed and taken out after use. They are used with the reed in the up position, turned on the side and lying flat against the reed.
Weave a Grey Cushion with White Pattern*
Weft yarn
Thick weft: cotton 16/2, 28gm (1oz) light grey, 4 ends wound together,
pattern (the honeycomb cells): cotton 16/2, 7gm (¼oz) bleached white, used single.
For plain weave cushion back if wanted: cotton 16/2, 35gm (1¼oz) light grey, 4 ends wound together.
Alternative weft suggestions: instead of 4 ends of cotton 16/2, you can use 2 ends of cotton 8/2 or cottolin 22/2.
Weaving
Weave 15cm (6ins) plain weave with the thick weft, ending with a pick with the reed down.
Begin pattern:
Reed up, pickup stick “A” flat against reed, with the thick weft, weave. Slide pickup stick “A” to the back of the loom.
1. Reed down, thick weft, weave. Put pickup stick “B” in place behind the reed.
2. Reed up, pickup stick “B”, fine weft, weave.
3. Reed down, fine weft, weave.
4. – 9. Repeat instruction 2 and 3 three times.
10. Reed up, pickup stick “B”, fine weft, weave. Remove pickup stick “B”.
Repeat 1. – 10. with pickup stick “A”.
Repeat 1. – 10. with pickup stick “B”.
Reed down, thick weft, weave.
Reed up, pickup stick “A”, thick weft, weave.
This is one pattern band. There are 9 fine picks in each row of cells, and 3 rows of cells to a band.
The thick weft pick between the honeycomb cells should be laid in a generous arc so it can curve around the cells (see Hints).
Weave 5 pattern bands with 7 plain weave picks with the thick weft between each band. Therefore, this means that there are 11 thick picks between the last fine pick in a honeycomb band and the first fine pick in the next band when we include those curving around the cells and those done with a pattern stick.
Now weave 15cm (6ins) plain weave with the thick weft.
There are 4 p/cm (10ppi), a pattern band measures 3cm (just under 1¼ins) at the widest place, and the area with the five pattern bands should measure approx. 22cm (8¾ins).
This is the front of the cushion. So,If you want to weave the back of the cushion, continue with plain weave for another 45cm (18ins).+
Learn more about cotton weights here
Learn more about yarn weights here
Are you skipping warp threads? Not sure which loom to use to your project? We have a whole blog post dedicated to helping make the most of your weaving.
Blog post proudly supplied by Ashford Wheels & Looms.
-
Ashford Double Knit 8 Ply Yarn$0.00 – $12.95 inc GST
-
SampleIt Loom Complete Kit – 40cm$329.00 inc GST
-
Rigid Heddle Loom – 60cm -The Complete Learners Weaving Kit$585.00 inc GST
-
Rigid Heddle Loom – 80cm -The Complete Learners Weaving Kit$630.00 inc GST
-
SampleIt Loom Complete Kit – 25cm$310.00 inc GST
-
Ashford Triple Knit 12Ply Yarn$13.95 inc GST
-
Rigid Heddle Loom – 40cm – The Complete Learners Weaving Kit$535.00 inc GST
-
Ashford DK 8Ply Double Knit Yarn – 500gm
-
SampleIt Loom 40cm / 16″ – with built-in second heddle kit$255.00 inc GST
-
25cm SampleIt Loom with built-in second heddle kit$225.00 inc GST
-
80cm Rigid Heddle Loom – includes second heddle kit$399.00 inc GST
-
Ashford 60cm Rigid Heddle Loom$369.00 inc GST
-
40cm Rigid Heddle Loom – includes second heddle kit$335.00 inc GST

