Wavy shuttles add texture, movement, and a playful touch to your woven fabrics. Weaving is an art form that has been cherished for centuries, offering a therapeutic escape from the hustle and bustle of everyday life. For crafters, weaving is not only a creative outlet but also a way to connect with traditions, explore new techniques, and create beautiful, one-of-a-kind fabrics.
One tool that can add a fun twist to your weaving projects is the wavy shuttle. Keep reading to learn everything you need to know about using wavy shuttles in your next weaving project.
What is a Weaver’s Shuttle?
Let’s start by first understanding what a weaver’s shuttle is. A weaver’s shuttle is a valuable tool used in weaving to pass the weft thread (the thread that runs horizontally) through the warp threads (the threads that run vertically). The shuttle carries the weft thread back and forth, creating the woven fabric. Shuttles come in various shapes and sizes, each designed for specific types of weaving and materials.
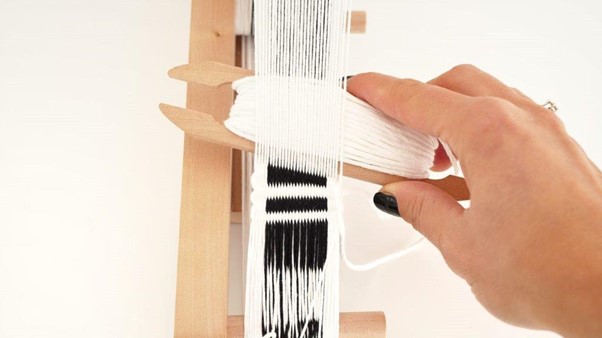
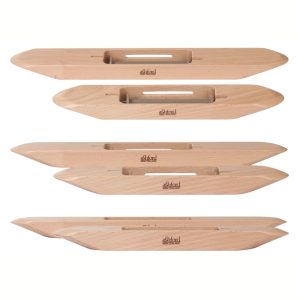
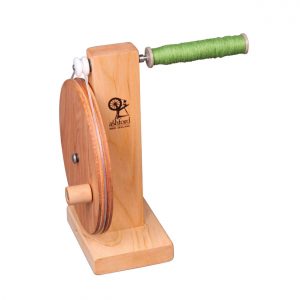
The most common types of shuttles include boat shuttles, stick shuttles & belt shuttles. Boat shuttles are often used in floor loom weaving and have a hollow core where the weft thread is wound. Boat shuttles have bobbins & bobbin winders. Stick shuttles are simpler, flat tools used for hand weaving on a rigid heddle or tapestry loom. Regardless of the type, the shuttle plays a crucial role in the weaving process, allowing you to create even consistent fabric.
What is a Wavy Shuttle?
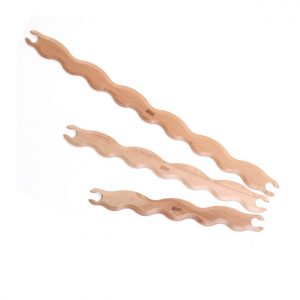
A wavy shuttle is a variation of the traditional stick shuttle, but with an obvious twist—literally! Instead of a straight edge, the wavy shuttle has a curvy or zigzagged edge. This unique shape allows the weaver to create wavy or undulating lines in the weft, adding a dynamic and textural element to the fabric. The wavy shuttle is often made of wood, like the Ashford Wavy Shuttle, which is crafted from lacquered hardwood for durability and smooth handling.
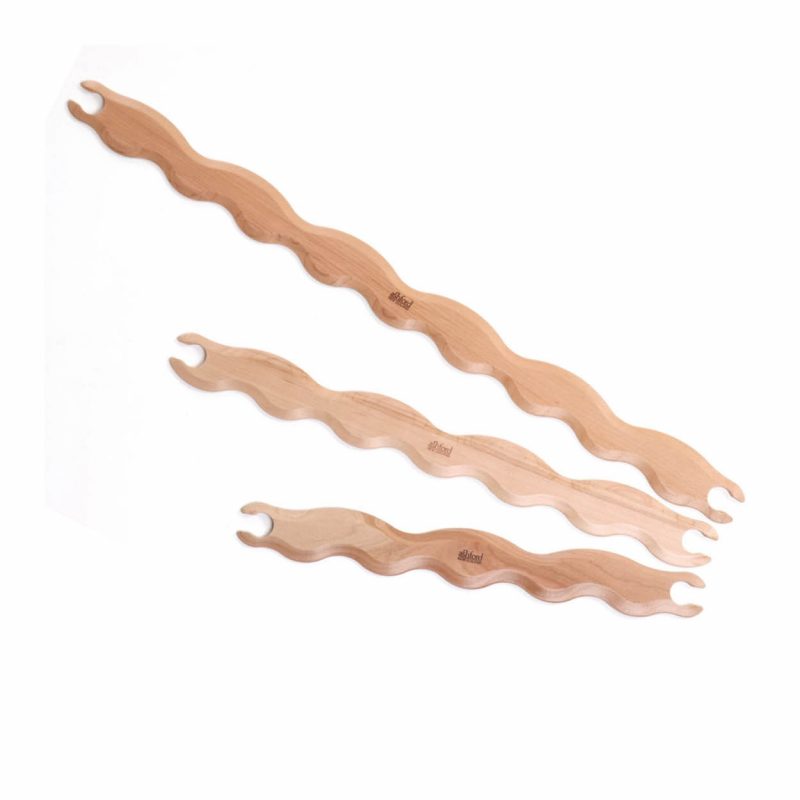
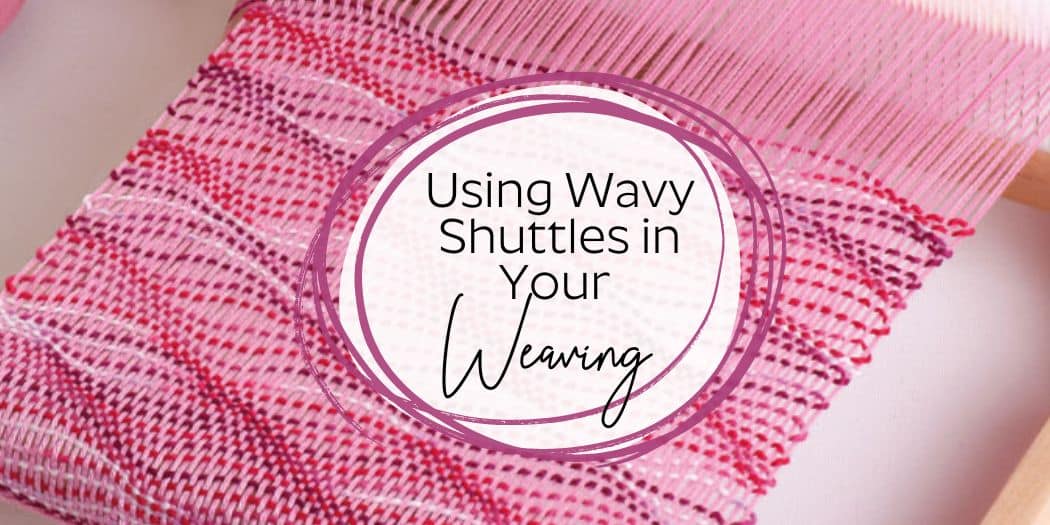
The wavy edge of the shuttle is what makes it so special. When you use a wavy shuttle, the weft thread follows the curves of the shuttle’s edge, creating a gentle, flowing pattern in your weave. This can be particularly striking when combined with different colours or textures of yarn, making your woven pieces truly stand out.
What Can I Use a Wavy Shuttle For?
The wavy shuttle is incredibly versatile and can be used in a variety of weaving projects to add texture and interest. Here are a few ideas:
- Scarves and Shawls: Add a wavy pattern to a handwoven scarf or shawl to create a subtle yet elegant design. The undulating lines can give your piece a soft, flowing appearance, perfect for cozy winter accessories.
- Table Runners and Placemats: Elevate your table settings with woven table runners or placemats featuring wavy patterns. The texture can add a touch of sophistication and make your handmade pieces a conversation starter at dinner parties.
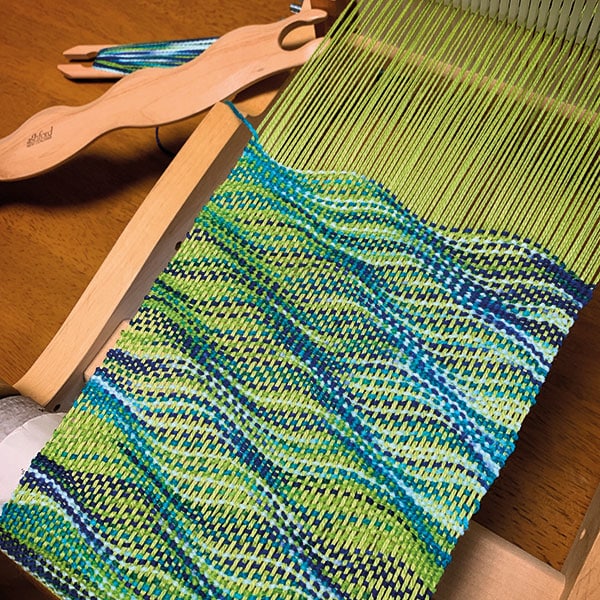
- Wall Hangings: Create striking wall art by incorporating wavy lines into your woven wall hangings. The patterns can mimic natural elements like waves or rolling hills, bringing a sense of tranquility to your home décor.
- Blankets and Throws: Add a wavy pattern to your woven blankets or throws for a cozy, tactile experience. The waves can add depth and warmth to your woven textiles, making them perfect for snuggling up on chilly evenings.
The wavy shuttle can also be used with various weaving techniques, from plain weave to more complex patterns. Experimenting with different yarns, colours, and weaving methods can result in an array of beautiful, textured fabrics.
How to Use a Wavy Shuttle
Using a wavy shuttle is like using a traditional stick shuttle, but with a few added considerations due to its unique shape. Here’s a step-by-step guide to help you get started:
1. Prepare Your Loom: Set up your weaving loom as you would for any weaving project. The wavy shuttle can be used on a variety of looms, including rigid heddle looms, tapestry looms, and frame looms.
2. Choose Your Weft Yarn: Select a yarn that will highlight the wavy pattern. Thicker yarns will emphasize the curves more, while thinner yarns will create a subtler effect. Consider using distinct colours to enhance the visual impact of the waves.
3. Load the Shuttle: Wind your weft yarn onto the wavy shuttle, just as you would with a straight shuttle. Make sure the yarn is evenly distributed and not too tight, as this can affect the flow of the weaving.
4. Weave as Usual: Begin weaving by passing the wavy shuttle through the warp threads. The curves of the shuttle will automatically create wavy lines in the weft. You can alternate between using a straight shuttle and a wavy shuttle to create contrasting patterns.
5. Experiment with Patterns: Play around with different patterns by varying the angle at which you pass the wavy shuttle through the warp. You can create more dramatic waves by weaving at a steeper angle or softer waves by keeping the shuttle more horizontal.
6. Finish Your Weaving: Once you’ve achieved your desired pattern, finish your weaving as usual. The wavy pattern will be more pronounced once the piece is removed from the loom and finished.
Using a wavy shuttle adds an element of fun and creativity to your weaving, allowing you to explore new textures and designs in your work.
What Are Some Patterns a Wavy Shuttle Can’t Make?
While the wavy shuttle is a fantastic tool for creating flowing, organic patterns, there are certain limitations to what it can achieve. Here are a few patterns where a wavy shuttle might not be the best choice:
- Straight-Edged Patterns: If you’re looking to create a design with sharp, straight lines or geometric shapes, the wavy shuttle’s curves may interfere with the precision needed for these patterns.
- Complex Tapestry Designs: Intricate tapestry designs that require detailed, pictorial elements may not benefit from the wavy shuttle, as the undulating lines could distort the image.
- Rigid Weaves: For projects that require a very tight or rigid weave, the wavy shuttle’s curves might not allow for the necessary tension, leading to a looser, more textured fabric.
In these cases, a traditional stick or boat shuttle may be more appropriate to achieve the desired effect. However, the wavy shuttle excels at adding a touch of movement and softness to more fluid, organic designs.
How Do I Choose the Right Wavy Shuttle Size?
When selecting a wavy shuttle, size does matter! The size of your wavy shuttle should correspond to the width of your warp and the thickness of your weft yarn. Here’s how to choose the right size:
- Loom Width: Consider the width of your loom. You’ll want a shuttle that’s long enough to comfortably pass through the warp without being too cumbersome. For narrower projects like scarves, a smaller wavy shuttle is ideal. For wider projects like blankets, a larger shuttle may be more efficient.
- Yarn Thickness: The thickness of your weft yarn will also influence your shuttle choice. Thicker yarns require more space on the shuttle, so a larger shuttle may be necessary. Conversely, for finer yarns, a smaller shuttle will work fine.
- Personal Preference: Your choice may come down to personal preference. Some weavers prefer the control of a smaller shuttle, while others enjoy the speed and efficiency of a larger one.
The Ashford Wavy Shuttle, comes in assorted sizes, making it easy to find the perfect match for your project. Whether you’re weaving a delicate scarf or a bold wall hanging, there’s a wavy shuttle that’s right for you.
The wavy shuttle is a wonderful tool for any weaver looking to add a bit of whimsy and texture to their projects. With its unique shape, it allows for the creation of beautiful, undulating patterns that can enhance everything from scarves to wall hangings. Whether you’re a seasoned weaver or just starting, experimenting with a wavy shuttle can open new creative possibilities and bring fresh inspiration to your craft. So why not try it? You might just discover a new weaving tool!
Free Tutorials
-
Learn To Weave on the Brooklyn Four Shaft Loom$0.00 inc GST
-
Learn Indirect Warping on the Rigid Heddle Loom$0.00 inc GST
-
Learn to Weave on the Ashford Table Loom$0.00 inc GST
-
Learn to Weave on the SampleIt Loom$0.00 inc GST
-
Learn to Weave on the Rigid Heddle Loom$0.00 inc GST
-
Learn to Weave on the Knitters Loom$0.00 inc GST
-
Learn to Weave on the Inklette Loom$0.00 inc GST
-
Learn to Weave on the Inkle Loom$0.00 inc GST

