Crochet
Learn The Art Of Amigurumi Crochet
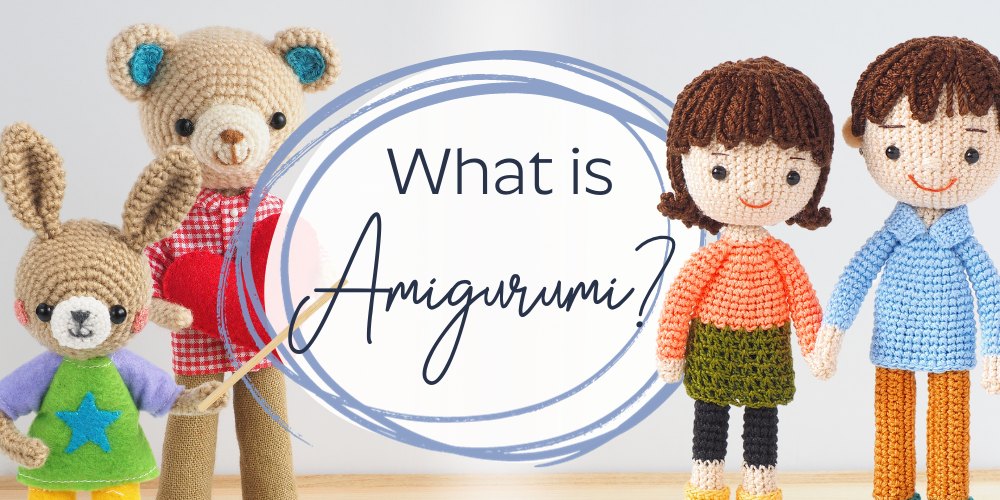
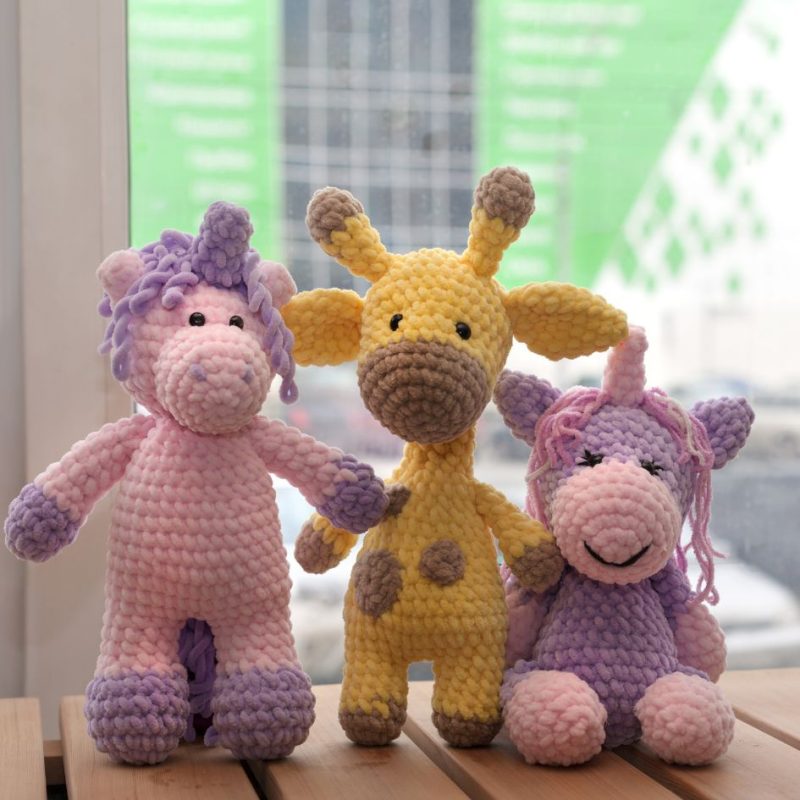
Amigurumi is the enjoyable craft that has captured the hearts of many. It is a Japanese art form that involves creating small, stuffed creatures using easy-to-follow knitting or crocheting techniques. In the world of handicrafts, Amigurumi stands out as a charming and whimsical way to bring gorgeous characters, such as animals and people to life.
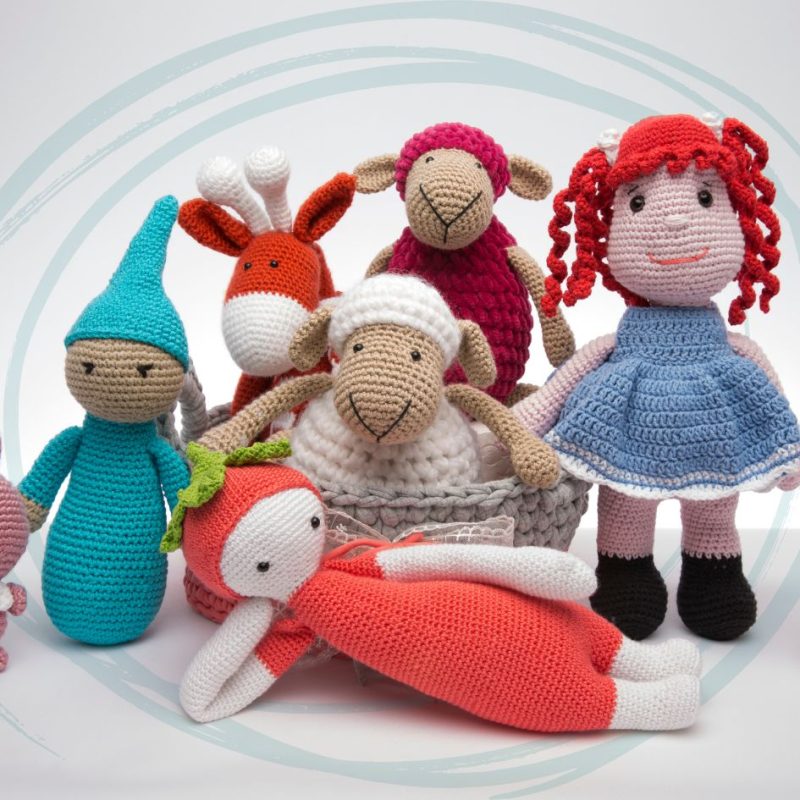
Amigurumi, a term derived from the Japanese words “ami” (meaning crocheted or knitted) and “nuigurumi” (meaning stuffed doll).
Essentially, Amigurumi translates to ‘the art of crafting adorable stuffed toys with yarn and a hook or needles.
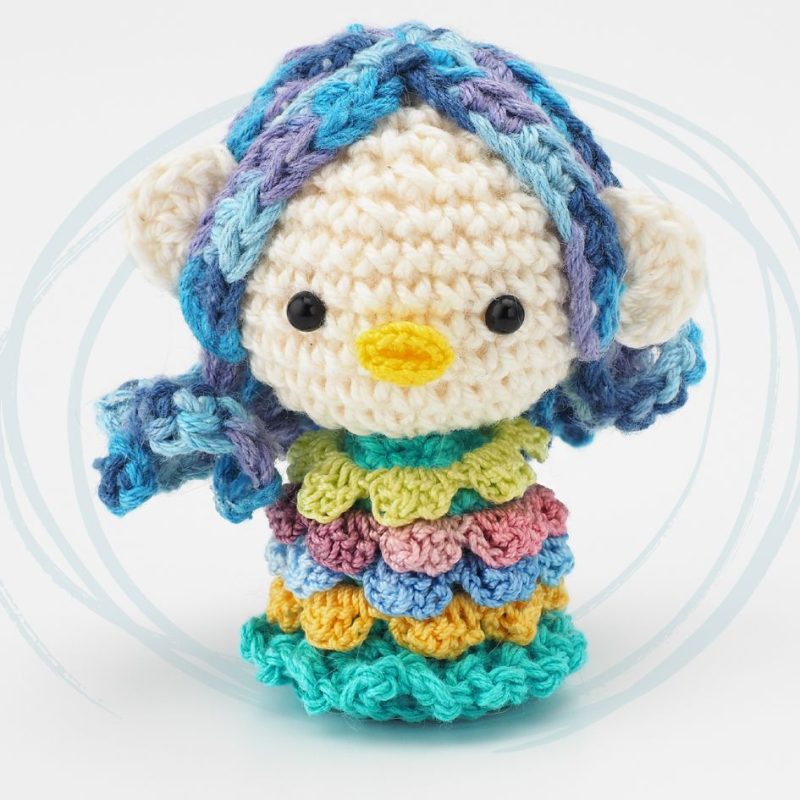
What sets Amigurumi apart is its emphasis on creating cute, miniature creatures with a distinct anime or kawaii aesthetic. From tiny animals such as lions and monkeys, through to fantastical creatures to charming characters, such as our fruit people.
Amigurumi Crochet Kits are a great place to start
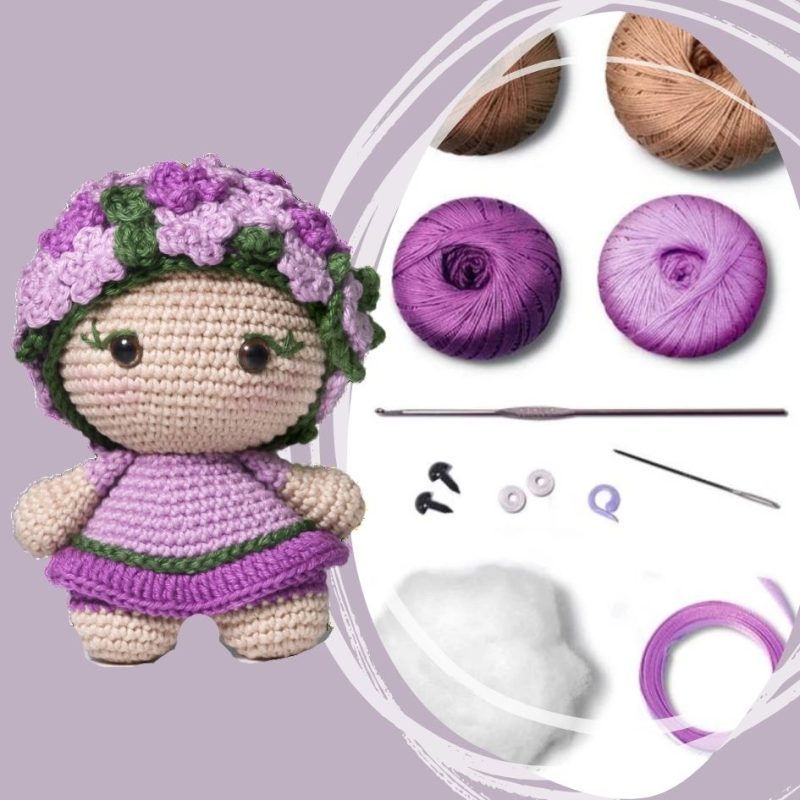
Crafters embarking on the Amigurumi journey find kits like those found at The Good Yarn, are a great starting point. Typically, they a variety of colourful yarns, crochet hooks and step-by-step instructions to easily bring their creations to life.
The magic of Amigurumi crochet lies in the careful stitches and the careful shaping of each part of your project. Whether it’s a cute round head, a chubby body, or dainty limbs. The process involves working ‘in the round’ and often requires a keen eye for detail to achieve the desired cuteness factor.
Amigurumi in Australia
In recent years in Australia, Amigurumi crochet has gained immense popularity for several reasons. Firstly, it offers a perfect blend of creativity and relaxation. The repetitive nature of crochet or knitting stitches can be meditative, allowing knitters and crocheters to unwind, whilst creating something beautiful. Additionally, Amigurumi projects are relatively quick to complete compared to larger yarn craft projects, providing a sense of accomplishment in a short span of time.
Craft enthusiasts can find patterns ranging from simple and beginner-friendly to intricate and advanced. In fact, The Good Yarn offers a brilliant range of Amigurumi Kits that are ready to go. This makes Amigurumi accessible to enthusiasts of all skill levels. Whether you’re a seasoned crocheter or a novice with a passion for cute creations, there’s an Amigurumi project for everyone.
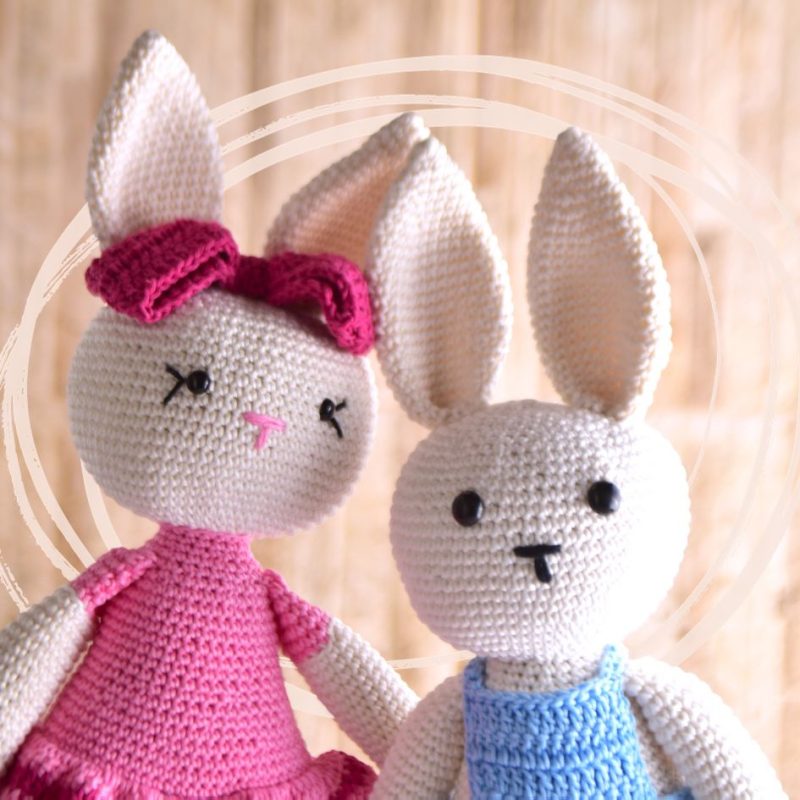
In Australia, we are seeing a large influx of Amigurumi devotees. The Australian Amigurumi community thrives on creativity, with makers displaying their unique designs and interpretations of this fun yarn craft. From local yarn stores to online craft groups, like The Good Yarn Online Craft Group, the demand for Amigurumi supplies and patterns is growing. Thats why we are always looking to increase our Good Yarn range
If you are thinking of trying your crafting hands at Amigurumi, here is a basic understanding of what you need and how to get started:
Materials for Amigurumi
Here’s a straightforward guide to the basic steps and materials for making your own Amigurumi creation:
Materials Needed for Your Amigurumi Project:
Yarn: Choose colourful yarn in the desired shades for your Amigurumi. Worsted weight yarn is commonly used, but you can experiment with different weights.
Crochet Hook: Select a crochet hook that complements your yarn. The size of the hook will determine the tightness of your stitches.
Filling: You’ll need stuffing material to give your Amigurumi its plush and cuddly form. Polyester fiberfill is a popular choice.
Yarn Needle: A yarn needle with a large eye is essential for weaving in ends and assembling your Amigurumi.
Safety Eyes or Embroidery Floss: For adding eyes to your Amigurumi. Safety eyes are plastic eyes that snap into place, while embroidery floss can be used to stitch eyes.
Scissors: A pair of sharp scissors for cutting yarn and trimming excess.
Learn Amigurumi Techniques
Basic Steps for Your Amigurumi Project:
Choose a Pattern: Start with a simple Amigurumi pattern. There are plenty of free patterns available online or in craft books. Choose one that matches your skill level.
Gather Materials: Once you’ve chosen your pattern, gather all the materials mentioned in the pattern, including the specified yarn colors.
Read the Pattern: Carefully read the entire pattern before you start. Familiarize yourself with the stitches and techniques required.
Begin with a Magic Ring: Many Amigurumi patterns start with a magic ring, a technique for creating a tight centre for your project. Below is a basic outline and instruction to help you master this technique.
Work in Rounds: Amigurumi is often worked in continuous rounds rather than rows. This creates a seamless and uniform appearance.
Follow Stitch Instructions: Pay attention to the specific stitches mentioned in the pattern. Common stitches include single crochet, double crochet, and increases or decreases to shape your project.
Stuff as You Go: As you progress, start stuffing your Amigurumi with the polyester fiberfill. Be sure to stuff firmly but not too tightly to maintain the desired shape.
Attach Eyes and Details: If your pattern includes safety eyes, attach them at the specified point. Alternatively, use embroidery floss to stitch on eyes and other details.
Finish and Assemble: Follow the pattern instructions to finish your Amigurumi. This may involve closing any openings, attaching limbs, or adding other finishing touches.
Weave in Ends: Use a yarn needle to weave in any loose ends, securing them neatly within your project.
Amigurumi Magic Ring
A “magic ring” in Amigurumi is a technique used to create a tightly closed and adjustable loop at the beginning of a crochet project. Also known as a “magic circle” or “magic loop,” this method is commonly employed when starting projects that require a closed centre, such as the heads of Amigurumi creatures. The magic ring allows you to pull the loop tightly closed, eliminating the hole that can sometimes occur when using alternative methods to start a round project.
Here’s a step-by-step guide on how to make a magic ring in Amigurumi:
- Hold the Tail: Hold the yarn end (tail) between your thumb and the base of your fingers, allowing about four inches (10 cm) of yarn to dangle down.
- Wrap the Yarn: Take the working yarn (the one attached to the yarn ball) and wrap it around the fingers (going over the top and behind) that are holding the tail. Wrap the yarn around your fingers twice, forming an “X” shape.
- Insert the Hook: Insert the crochet hook under the first strand of yarn (the one that’s closest to your fingertips), then catch the second strand and pull it through the loop created by the first strand. You’ll now have a loop on your hook.
- Chain Stitch: Chain one by yarning over and pulling through the loop on your hook. This creates the starting point of your magic ring.
- Begin the First Round: Work the specified number of stitches for the first round of your Amigurumi project into the centre of the ring, keeping the tail loose. Once you’ve completed the first round, you can gently pull the tail to close the loop tightly.
- Secure the Ring: After closing the loop, secure the magic ring by tying a small knot with the yarn tail. Some crafters prefer to weave in the tail at this point to further secure the ring.
The magic ring technique is favoured in Amigurumi because it allows you to control the tightness of the starting circle, ensuring that there is minimal or no gap in the centre. This is particularly useful when creating small, stuffed items like Amigurumi toys, as it provides a neat and seamless beginning to your crochet project. With a bit of practice, you’ll find the magic ring to be a handy and essential skill in your Amigurumi toolkit.

