Felting
Needle Felting Kit Tutorial
Discover this Needle Felting Kit tutorial kit for beginners. These instructions are designed to guide both experienced and beginners through the basic techniques of needle felting. Once mastered, you can add your own unique style to your project.
Before you start your project, you might like to experiment with a small piece of sliver.
The perfect beginners needle felting project
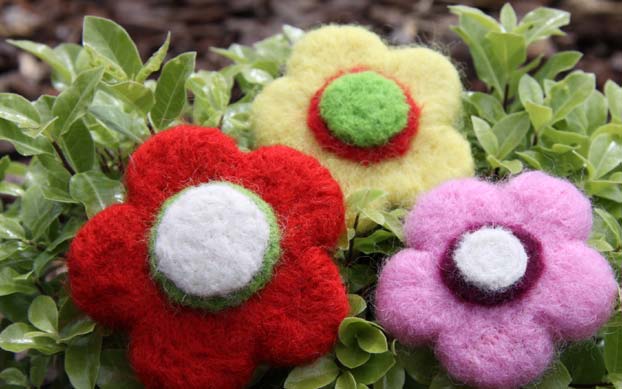
This beginners project will make a basic needle felted flower. You can felt many 3D forms by starting with some basic
shapes, for example: a cylinder, fold or rolled ball.
Needle Felting Supplies
Materials you need to get started
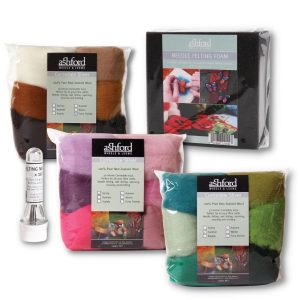
- 25gms of Ashford Corriedale wool sliver – 6 colours
- 1 Felting needle 36 gauge
- Needle felting foam
Alternatively you can choose the our ready to go flowers needle felting kit right here. Or for more advanced techniques and 11 projects refer to “The Ashford Book of Needle Felting” by Barbara Allen.
Needle Felting Flowers
The flower base:
Take a 20cm length for the base colour, wrap firmly around 2 fingers to form a circular wad of sliver (wrapping firmly will reduce your felting time).
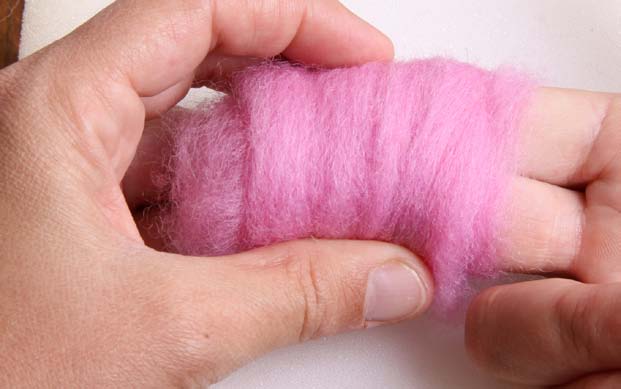
Remove your fingers. Needle the wool sliver a few times to stop it from unrolling. Continue working the sliver into a circular form, needling around the centre leaving the outer edge unfelted.
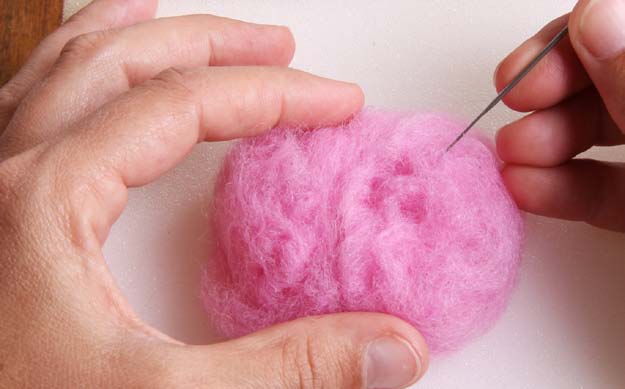
The petals:
Using the tip of the needle, fold in the sliver to a petal shape and needle to hold. Keep pulling in any sliver that strays outside your petal shape.
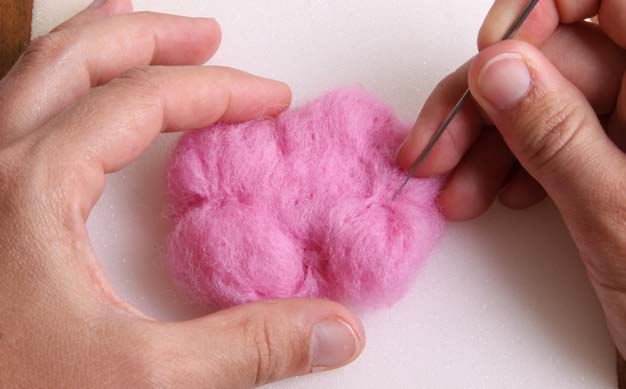
Now turn over your felted flower, working the reverse side as well. Needle repeatedly,
continuing to shape the petals, you will see the wool sliver
gradually felt down.
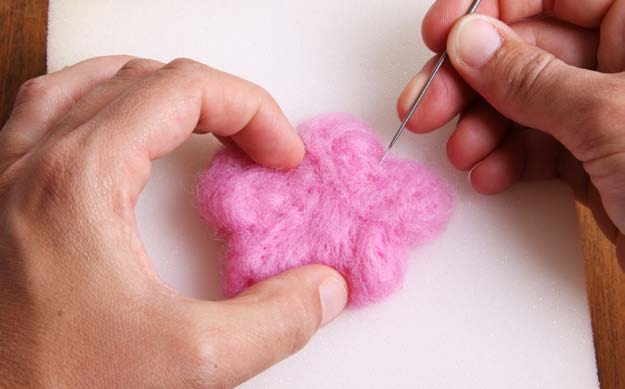
To thicken up your base and petals, wrap a small amount of wool sliver over your petal, needle to hold. Repeat over each petal using the pattern as a guide. Continue working the needle around the base and petals.
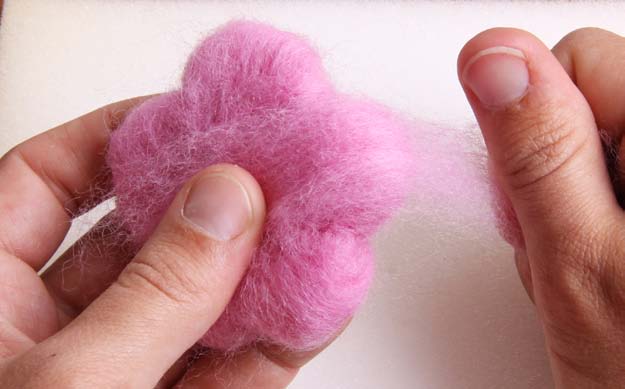
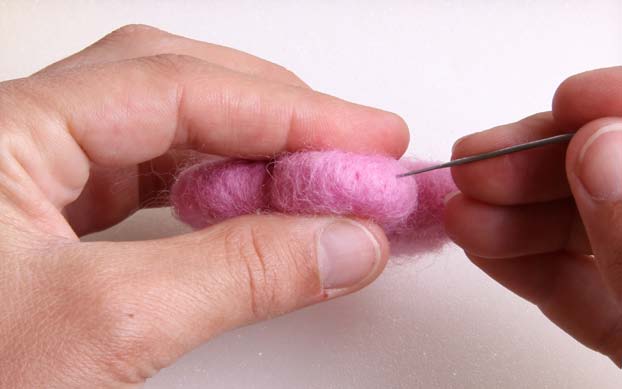
To firm up the edges hold the base of the flower between your thumb and forefingers and carefully jiggle the needle in and out, working right around the edges. Tip: Trim with scissors once finished to remove any wispy fibres.
The centre: When you are happy with the shape and thickness of the base, start the middle circle. Pull off a small piece of wool and form a rough circle shape on your foam. On top of
the sliver place a coin.
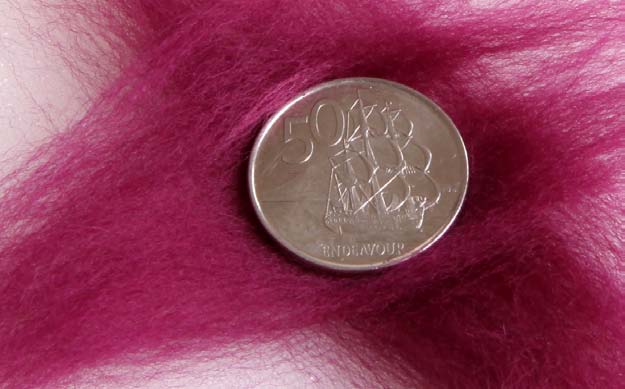
Next start forming your felted shapes
Make a dent with your felting needle around the outside of the coin. Remove the coin and fold any stray wool fibres into the middle of the circle while working the needle in the centre.
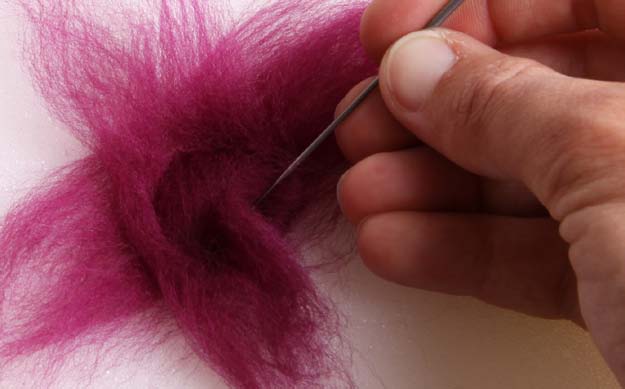
Turn the disc over and felt the other side continuing to pull in any stray fibres. Work the needle on an angle trying not to push the needle too far through as this pushes the fibres out
the opposite side.
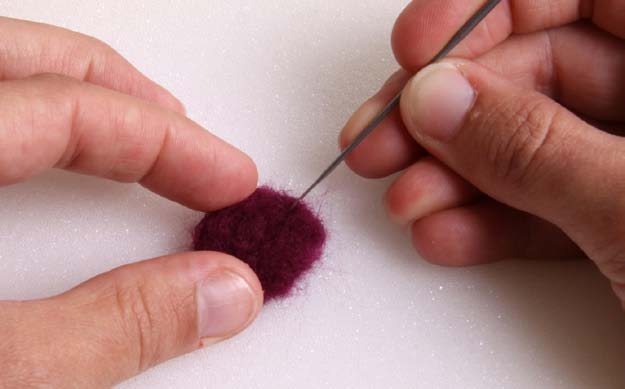
Needle the disc onto the centre of the flower.
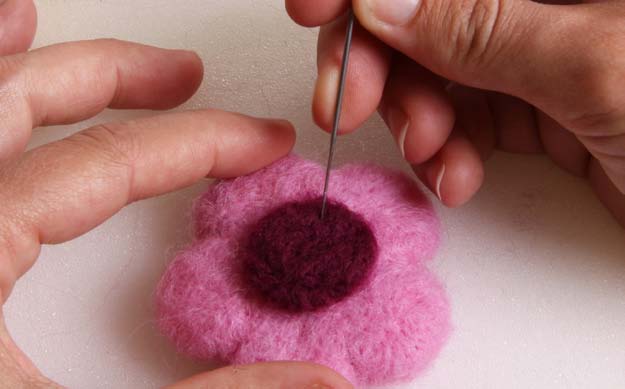
Create the top disc using a smaller coin. Repeat steps 9 and 10.
Happy Felting!
Dont forget we have a huge range of needle felting kits available. See a couple of them below
-
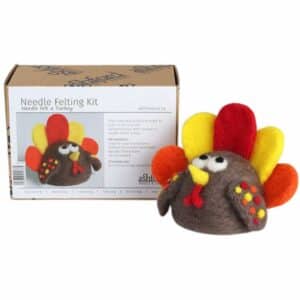
Needle Felting Kit – Turkey$18.00 inc GST
-
Needle Felting Kit – Sarah the Sugar Glider$18.50 inc GST
-
Needle Felting Kit – Penny the Platypus$18.50 inc GST
-
Needle Felting Kit – Freddy the Frog$18.50 inc GST
-
Needle Felting Kit – Kate the Koala$18.50 inc GST
-
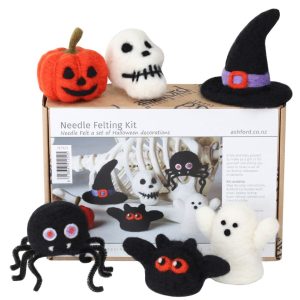
Needle Felting Kit – Halloween$29.90 inc GST
-
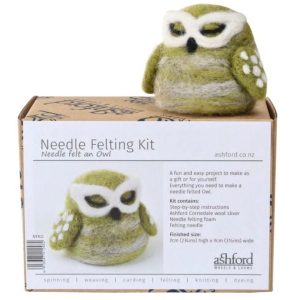
Needle Felting Kit – Owl$18.00 inc GST
-
Needle Felting Refill Kit$69.00 inc GST
-
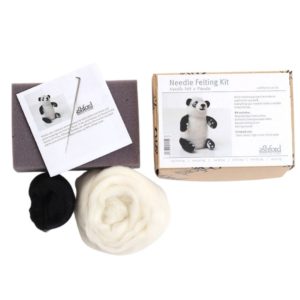
Needle Felting Kit – Panda$16.50 inc GST
See more of our free video tutorials here
Needle Felting Tips and Advice for Beginners
What is needle felting?
Felting is simply the process of producing felt. Very often your felted project takes a 3D form, be it home decor, animals, ornaments or more. It is the art of creating a textile or fabric that is made by combining and compressing loose fibres, usually wool roving.
The process of needle felting starts by taking a small amount of wool and continuously stabbing it with a felting needle. This process pulls the wool into itself, creating a ball of matted fibre. By doing this over and over while turning the wool it continues to pull wool into itself and the wool and with its tiny scales, it locks together. Continued stabbing and turning results in a firm round shape. Once you have created a basic shape to start with, you simply continue to add more wool where it is needed, to form a sculpture. You can also use wire to help form the shape. Once you have become more confident, you can also see our needle felting refill kits as well.
Find more needle felting tips here
